

Deer processing at home
Deer processing at home: it’s easy!
Bringing home a deer is very satisfying after a hunting trip, especially as you’re about to fill your freezer with delicious cuts of venison. A deer is a big animal, but deer processing at home is much easier than most people think. Once you’ve done it a few times, you won’t need to refer to this guide. Let’s dive into the home butchery!
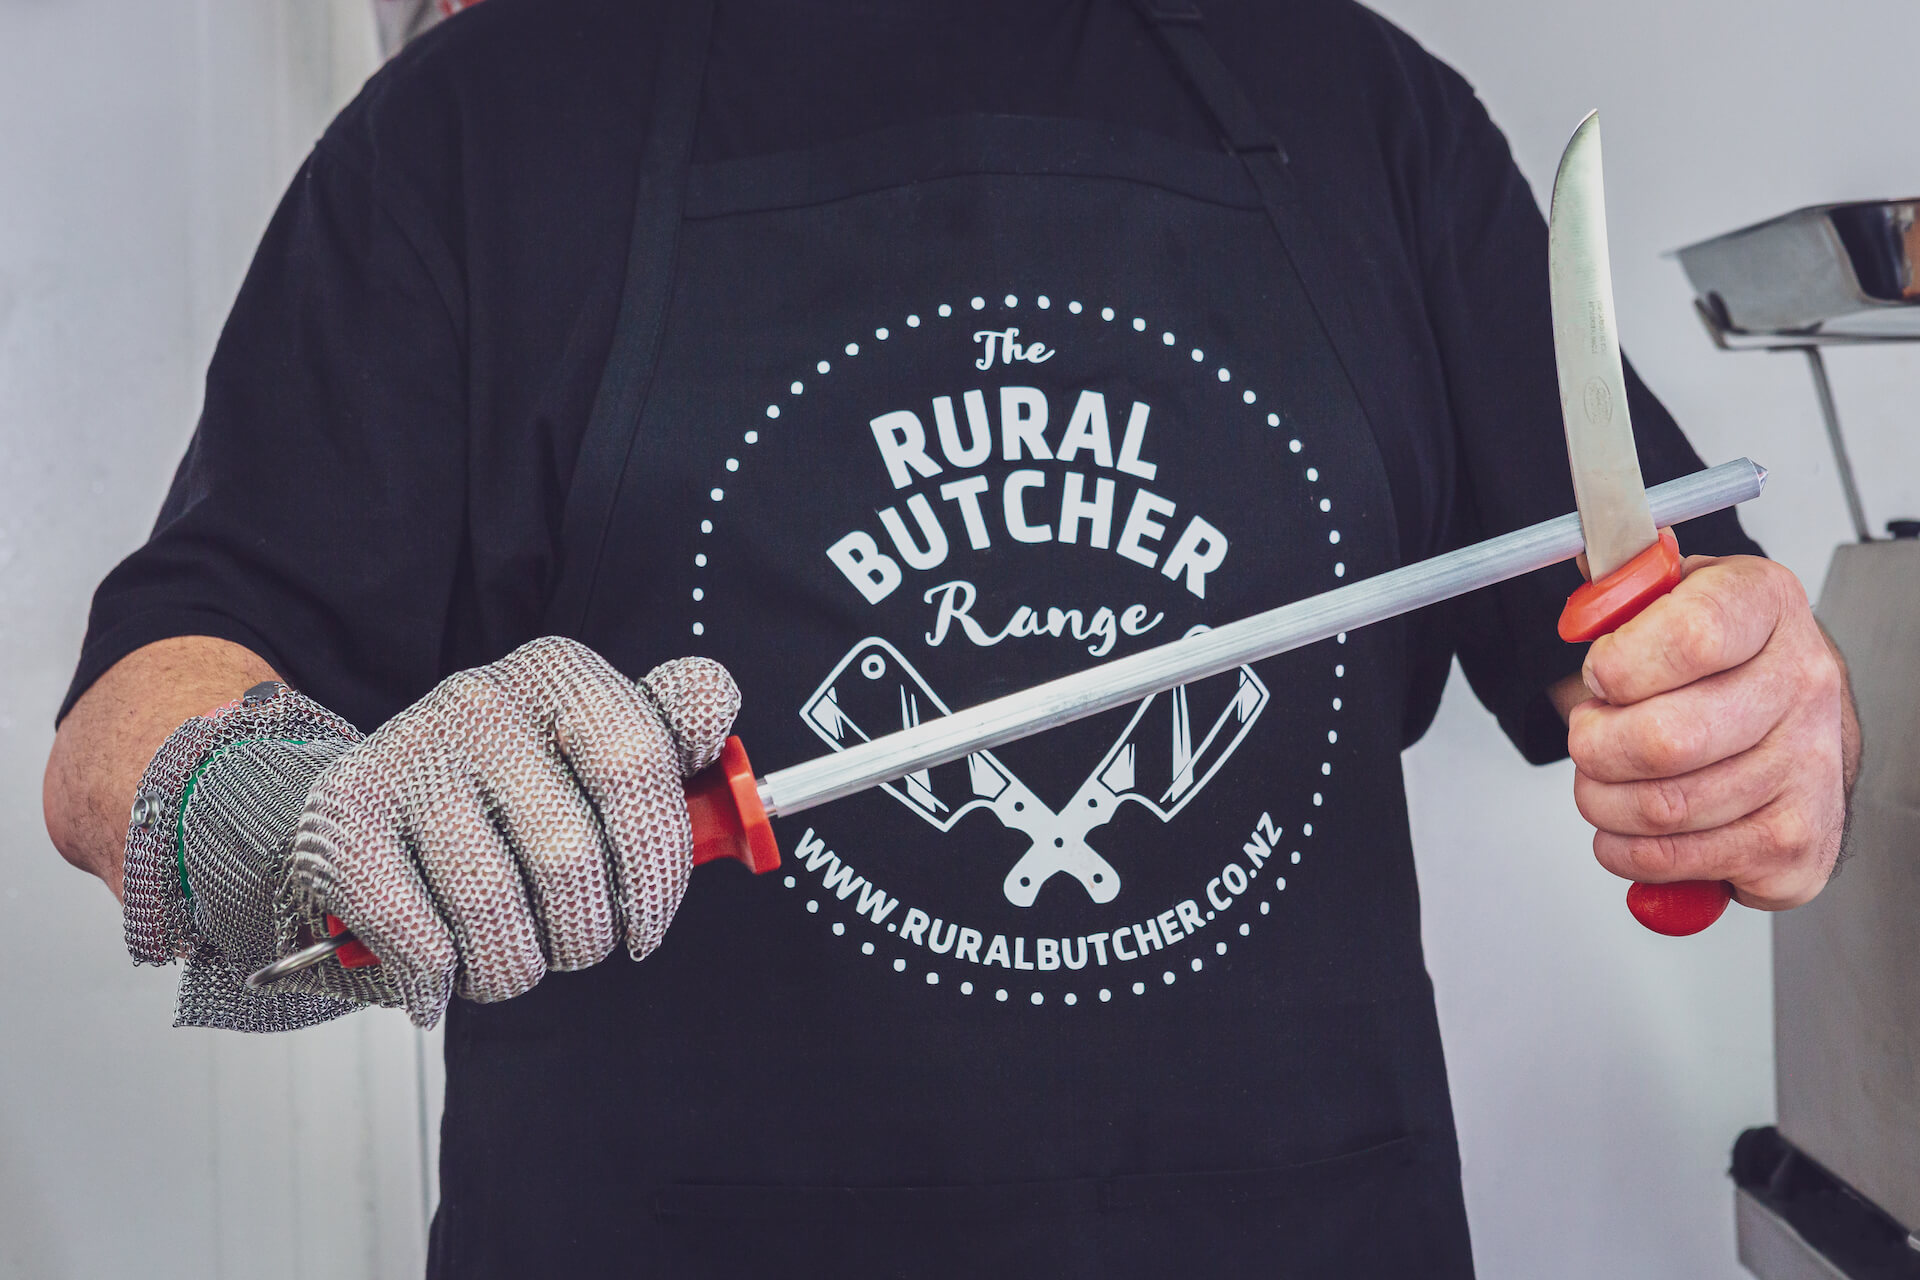
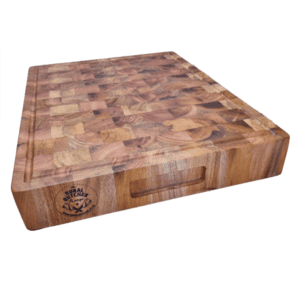
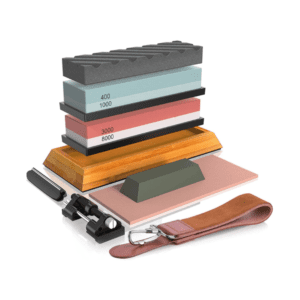
Tools for the job:
- Butcher knives
- Butcher block
- Knife sharpeners
- Butchers chainmail stainless steel mesh glove (recommended for safety)
- Vacuum sealers (recommended for hygiene and food preservation)
Skinning a deer
This process is easiest if you hang the deer in a tree when the carcass is still warm. With a sharp knife, make a cut around the neck and above the joints of the forelegs. Extend your gutting incision up to the ring around the neck. Then it’s all elbow grease to pull the hide away from the connective tissues. Most people work from the neck down. Use your knife if necessary, but you should be able to skin the deer without making many cuts.
Removing the membrane
Once you have your deer back at home, the butchery begins. The first step is to remove the membrane, which is the white layer covering the meat. The membrane is connective tissue joining the meat to the hide, and it’s tough and not nice to eat. By removing the membrane, your venison will also be more tender.
With a sharp knife, slice away the membrane in a similar way to how you would fillet a fish. You want to slice away only the connective tissue, not the meat itself. Apply steady pressure with the knife to slice between the meat and the tissue. Once you have separated some tissue, use your free hand to hold it up and away from the meat. Continue slicing to remove it in a long strip.
Pro tip: As you’re removing the membrane, remove any glands. They’re white with a black dot and give venison a gamey taste if not removed.
The work isn’t hard, but it takes time. Be patient and don’t rush. Hurrying can lead to accidents. Start at one end of the deer and work your way to the other end, always cutting away from yourself. Keep the scraps. They’re nutritious and make excellent dog food.
Remember to keep your knife razor sharp to make cutting easier!
Making your venison cuts
There are many ways to break down the carcass into individual cuts. How you choose to do it will depend on how you want to use your venison for cooking. It’s best to look up a guide to each one for detailed information on jointing and making specialist cuts.
Options include:
- Leaving large whole pieces on or off the bone for roasts.
- Slicing the meat into steaks.
- Slicing the meat into thin strips for fast stir-frying.
- Cutting the meat into stewing chunks.
- Making mince, sausages and burger patties.
Packaging and storage
Your meat will keep best and last longest if you vacuum pack it and freeze it. Remember to label each cut so you can find them easily and always date the product. At the least, use freezer paper or plastic bags to package your meat.
If you need more advice or want to see our range of butchery tools, come and say hello at the Rural Butcher stand. We’ll be at the Field Days in Northland, Central Districts and Christchurch throughout March and April. We’ll also do you a great deal on gifts for Mother’s Day.